Getting Started with an IDE
An IDE, an Integrated Deelopment Environment, is a type of text editor specifically for programming. There are two that you can use in our courses:
We recommend Visual Studio Code. It’s a general editor useful for many languages and text editing tasks.
You can also use Pycharm. It is a professional IDE, with a lot more features than Visual Studio Code but it is also more complicated.
Download and Install an Editor
Download Visual Studio Code from this download page. Download the PyCharm Community Edition from the bottom half of this page
Download and install Git
To do local development, you will need to have the source code management program Git installed.
For Mac, you will also need to install homebrew
Download and Install Python
Of course, to program in Python, you must have Python installed.
For Mac, you can install python with homebrew ( run
brew install python)For Mac and Windows, you can use the Official Python Distribution
Fork your Repo
Go to the repository page, such as the repo for Python Level 1, and click on the
 button. When you are done,
you will have a copy of the source repo in your own account.
Get Started with Visual Studio Code
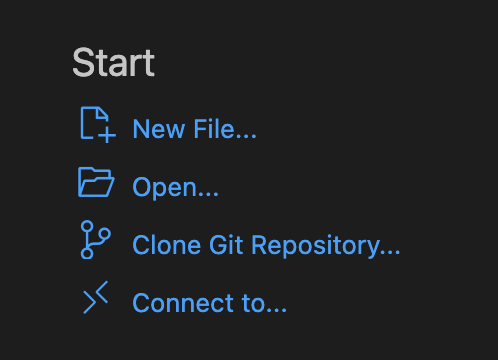
Open Visual Studio Code and on the Welcome page, look for the “Start” section:

Click on “Clone Git Repository”. You can either enter the URL of the Github repo that you want to open, ( look at the top of the window for a text box entry ) or click on “Clone From Github” to log into Github and get a list of recent repos. The one you just cloned should be on top.
After you open our repo, continue with this tutorial for more about how to use VSCode with Python.